Thursday 14 May 2015

Jalapeno Popper Burgers

OOooooOooooh boy.
 
It's May long weekend!  I'm so excited.
 
For most, May long weekend truly kicks off the summer season.  And why wouldn't it?  If you don't live here in Northern Alberta that is.  Or anywhere in Alberta.  Or Canada.  Because it could very well snow!
 
But the forecast looks halfway decent and should involve a BBQ and a backyard fire in the pit I only tripped over all last summer.
 
Before we get to the main event, let's do a quick run-down of other burgers you could try this weekend - or this summer!
 
One of my all-time favorites - Shrimp Burgers.  So light and lemony and delicious!


Just a sauce topping that turns a regular burger into a wild, smoky treat.  Wild Mountain Bacon Cheeseburger sauce.


If turkey is your thing - you could try these Southwestern Turkey Burgers.  But that chipotle pepper ketchup would totally rock a regular beef burger.


And for a Mediterranean twist - how about these Middle Eastern Turkey Burgers?  The mint, the parsley, and the complex of spices topped with a creamy, dreamy Tzatziki sauce is totally perfect for a hot summer day!


But.  You're here to drool over these Jalapeno Popper Burgers.

And drool you will.

Remember my Jalapeno Popper Grilled Cheese Sandwich?  Sooooo good.

Same kinda thing here.  But with beef.  And bacon.  And this delish avocado/ranch topping.

 
Except this time I roasted the jalapenos on the barbecue.  Over about 450 degree F heat, put the jalapenos straight onto the grill.  Then give 'em a turn every few minutes until the skins are blackened and loose.  Then let them cool, peel the skins, cut them open and remove the seeds and membranes.  Or you can leave them for the spice factor.
 
Somewhat superior to the oven method, the smoky flavor from the barbecue is amazing.  Plus - no turning on your oven when it's 800 degrees inside.
 
 
Then add the diced up jalapenos to softened cream cheese.  Stir to combine.


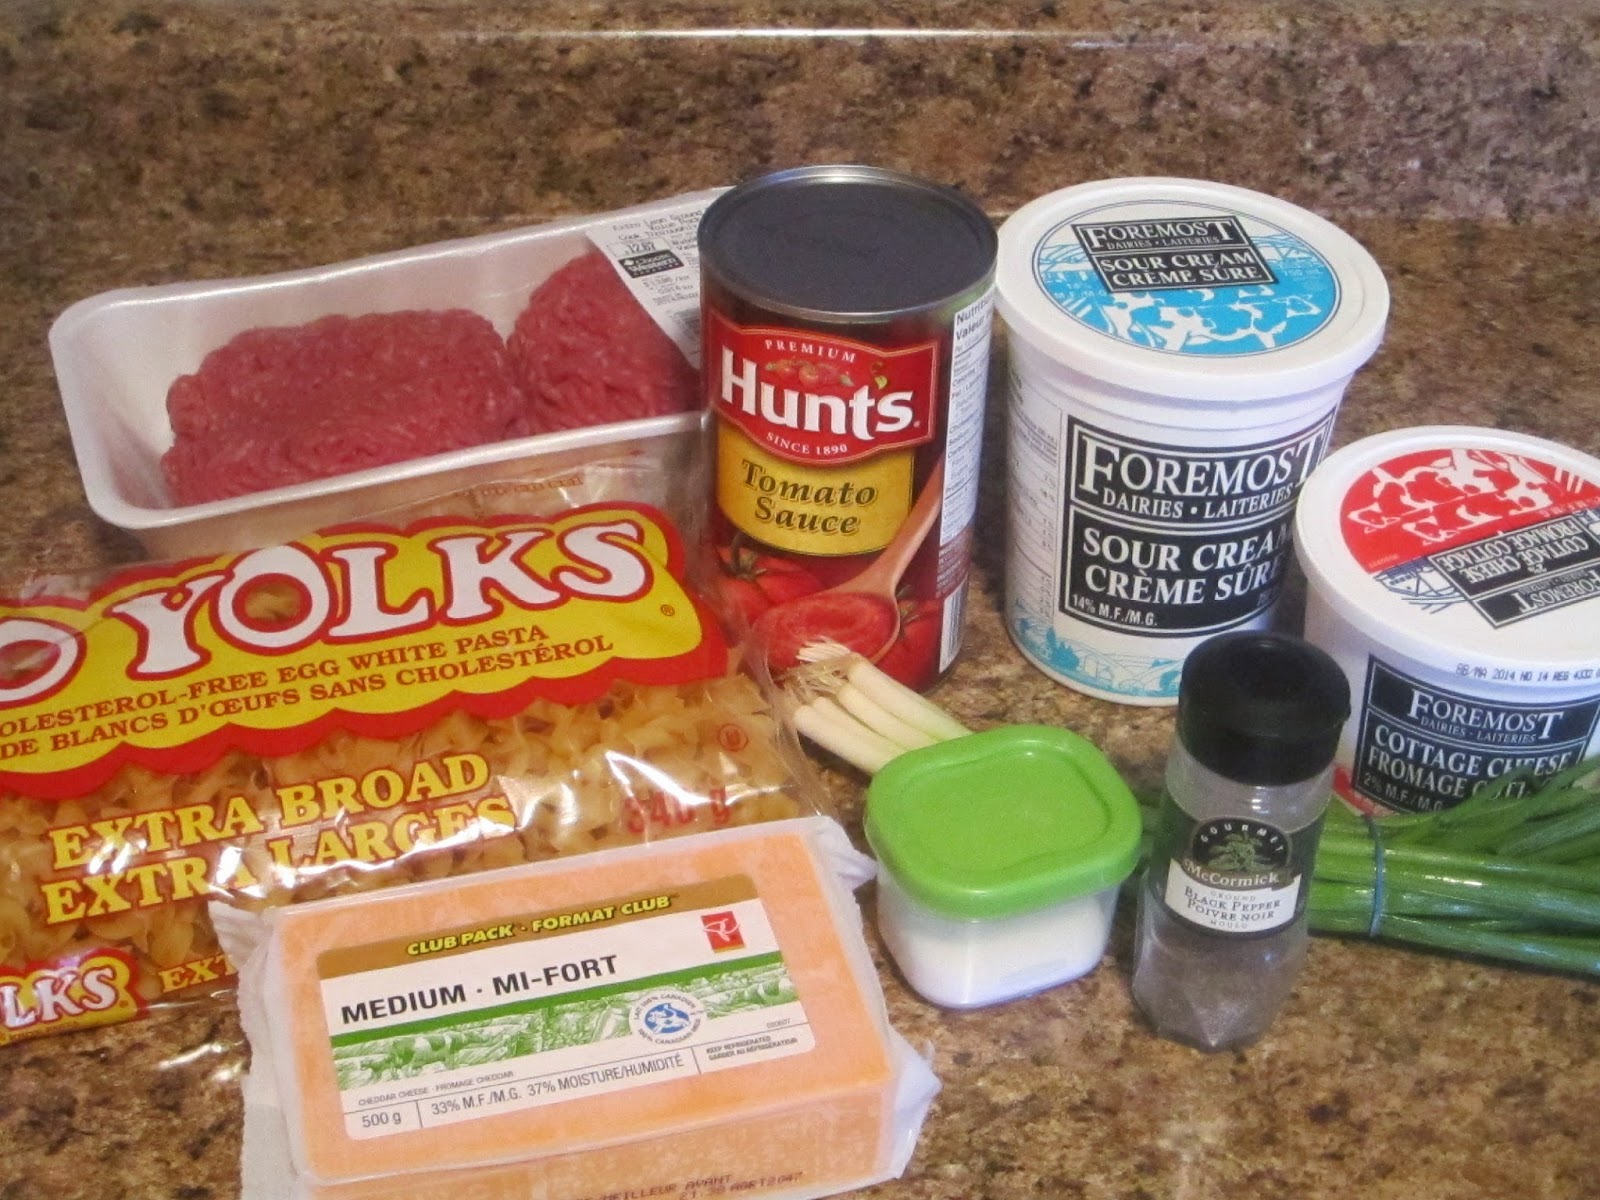
Now for the assembly.  Take the ground beef and season it.  Toss in an egg or some bread crumbs for the binding.  Honestly - you could do a Lipton onion soup-type burger (which my Mom has always done) and it's perfect.  Or whatever floats your boat.

Then seperate the beef into 8 pieces and press into patties a little larger than the size of your bun.

And divide the cream cheese mixture between 4 of the patties.

 
Then take the 4 naked patties and place those on top of the cheese-topped patties.  You want to kind of pinch the edges of the patties so that they're sealed together.  That will keep them from flopping apart and keeps the cheese from seeping out.

 
Make sure your barbecue is ready and get those burgers on there.  As far as cook time goes - 400 - 450 degrees F (if you have a thermometer), or whatever medium-high heat is.  Or 2 steamboats count.
 
At this point you can choose if you want to use slices of cheese, or grate up some cheddar and pile it on.  I grated cheddar and I feel like it totally changed my burger experience!  Infinitely better than slices!


Look how gooey and melty.


For the topping.  You could absolutely spread on a little more cream cheese.  Or put on mayo.  Or ketchup (but that would be weird).  Or whatever blows your hair back.

But.

I recommend doing this topping.  A ripe avocado and 1/2 a cup of ranch dressing.  Just make sure it's nice and thick dressing.  The stuff I brought home was kind of runny and the end result was not that amazing.

The avocado-ranch topping will cool off the heat of the jalapenos - if you're of the brave variety and have left the seeds and membranes.

Now, I'm somewhat faint of heart when it comes to heat, so I diligently scraped out the seeds and membranes of each jalapeno.  Which left a little zing, but no heat.  But the avocado-ranch topping was still a fantastic complement to the burger.

And make sure there's bacon.

Burgers need bacon.  Like meatloaf needs potatoes.  Burgers need bacon.

And buns.  But who's counting.


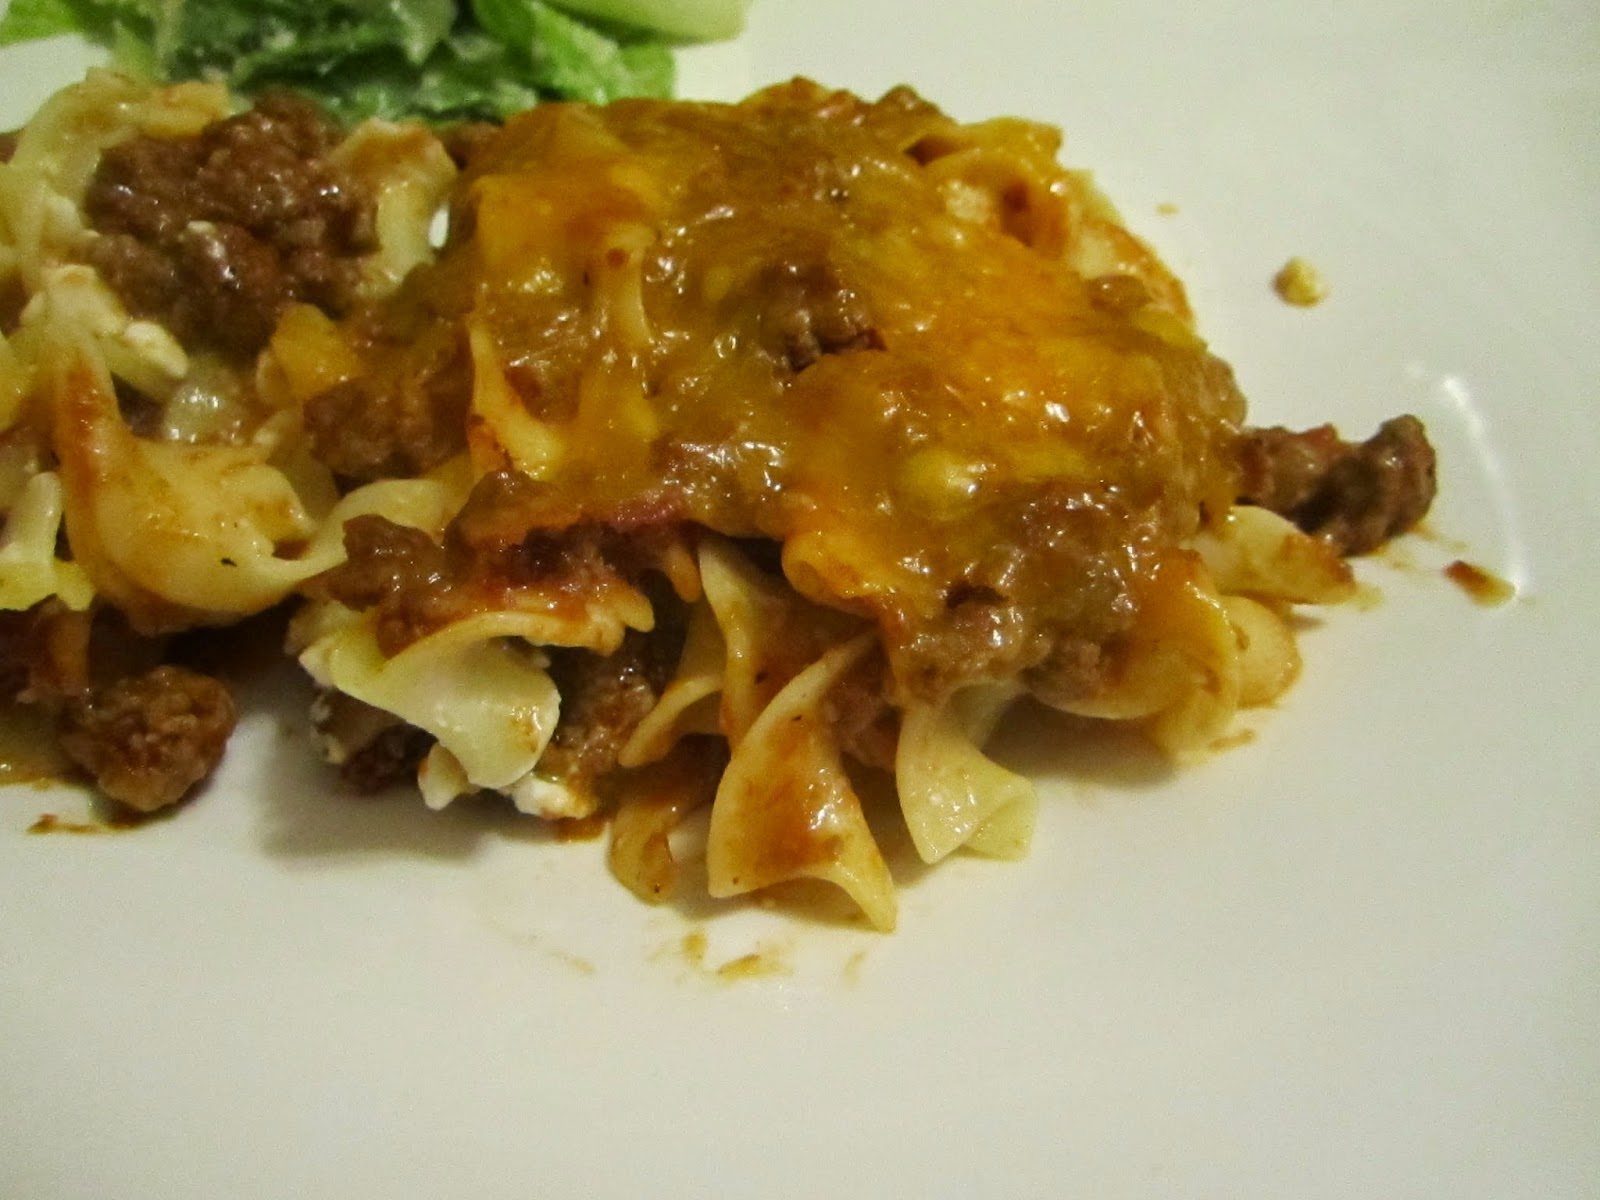
These were totally fantastic.  The saltiness of the cheese, the crisp of the bacon, the sweetness of the cream cheese, the zing of the jalapenos - that avocado-ranch topping.  It all went together like it was always meant to be.

And - to be completely honest - I was somewhat freaked out by the weird combo of ground beef and cream cheese....  They just don't seem like they should go together.  Ever.

It totally works.  Really.  I would never lie to you.

Welcome to summer kids.  Now get out there and barbecue!!!!

Thursday 7 May 2015

Sour Cream Noodle Bake

Since "it's" officially frozen over here in Alberta, what with the - um - blizzards.  I thought we should do this noodle bake.  I was going to hold off until fall to share this with you, but I certainly think we need a little casserole-y happiness in our day when there's snow on the ground on May 7th.
 
Good grief.
 
If you look at the cast of characters below - there's not a whole lot going on.  9 ingredients. Really!  Only 9.  And I'm sure you're wondering - how can that be good?  Well, stay with me.
 
 
In a large skillet or frying pan, cook the ground beef until only a little pink remains.  Less pink than in the picture below.

 
Then add in the tomato sauce.

 
And the salt and pepper.

 
Then cover with a lid and simmer for about 20 minutes.
 
While the meat is simmering, cook the noodles.
 
And in a large bowl combine:  the sour cream. 

 
The cottage cheese.

 
And the green onions.

 
When the noodles are cooked, throw those into the bowl too.  And stir it all together.

 
Once the meat is cooked and the noodle mixture is stirred together, get a 7 x 11 baking dish.
 
EEK!  No pics here!  Sorry!  Will definitely update with some when I make this again.
 
Dump half the noodles into the bottom of the baking dish.
 
Top with half of the meat mixture.
 
And half the cheese.  You could totally add some more cheese if you want!
 
Repeat.

Bake for 20 minutes or until all the cheese is melted.

And scarf it down.

Trust me.  You're going to LOVE this really simple casserole.

 
It's hearty and creamy without being rich and the noodles lighten it up enough so that you don't feel guilty about taking seconds.
 
Or thirds in my case.
 
No judging.

 
How can 9 ingredients be so delicious?  Why don't you whip this up tonight on this grey, snowy day and find out for yourself!
 
Oh.  And I totally recommend consuming this with a big chunk of bread and a Caesar salad.
 
Worth it.
 
xoxo - Heather


Monday 4 May 2015

Baja Fish Tacos

Okay - so "technically" Baja Fish Tacos are NOT Mexican.

"TECHNICALLY" they're a California thing.  I think.

But since tomorrow is Cinco de Mayo and these are TACOS, we could totally PRETEND that they are Mexican and you could totally make them for your Cinco de Mayo celebration. 

Plus.  Margaritas.

Confession time.

Actually.  Today I have many.  But let's start with the big one.

The elephant in the room if you will.

I'm completely terrified of deep frying.

Completely.  The horror stories that surround deep frying accidents and incidents and injuries make me cringe and have ultimately resulted in me being a big darn chicken about deep frying. 

And guess what.  Turns out, that - while somewhat dangerous - deep frying is actually not so scary.  (Can you tell that I DON'T like to live on the edge?  I like the middle where it's safe and I won't burn my house down.)

ANNNNNNND - it's delicious.  Like, "we've had fish tacos 75 times in the last month and we're havin' 'em AGAIN for supper tonight" kind of delicious.

First things first.

Make sure you're using a Dutch oven or a heavy pot.  Start heating your oil early and make sure you use one of those fancy-schmancy thermometers.  You don't want to heat it too fast, because if you miss the right temp, it takes forever to cool down. And then you're waiting all night to eat.  I put mine on 6 (on the burner dial) until it gets to about 200 - 250 degrees F, then I turn it down to about a 3. 

It will take some time, so be patient.  It needs to get to and stay at a consistent 350 degrees F.  And you have to hang around (just in case), so make sure you don't have any other "multi-tasking activities" planned.

Next.

The fixin's.  You can absolutely make these while the oil is heating, or you can make them earlier in the day - whatever works best for you.

The Pico de Gallo.  Cut open the tomato and remove the seeds and any liquid.  I prefer to do this so that the Pico isn't runny.  Dice the tomato really small.  Dice the onion really small.  Dice the cilantro.  Mix them together in a bowl.  Add in the juice from the lime, a little red wine vinegar (weird - but go with it), and the salt.  Stir together and keep in the fridge until ready to serve.


The White Sauce.  This stuff seriously makes the tacos - even more so than the Pico.  Combine the milk, mayo, vinegar, and lime.  It will thicken as it sits.  Keep it in the fridge until ready to serve.


Both of these are absolutely imperative to these tacos.  They seriously escalate the tacos from damn yummy to "oh my freaking delicious".  Don't skimp out on them.


For the Fish.  This particular round, I used Sole filets - because I live in a remote town ("city") and can only get what I can get.  The Sole was just wonderful.  I used Cod the second (third?) time and that was great too.  Basically, you want a firm, white fish.  But if you can only get Sole (or, let's be honest, sometimes all I can get is Wall-eye), it will work just fine and you'll never know the difference.

After the fish is all cut up (I'd say about 1/4 to 1/2 inch wide and 2 1/2 to 3 inches long), make the beer batter.

In a large bowl, combine the flour


With the baking powder,


And the garlic powder,


The cayenne pepper,


The oregano,


And the salt and pepper.


Last up, add the beer.  I used Negra Mordelo, which is a Mexican beer and more of a dark honey brown lager.

It's supposed to fizz like that! 


Whisk it together and if it seems too dry, add more beer.  The batter should be the same consistency as pancake batter.


Okay.  Now.  While the frying part can be fast - it takes a long time to get it all done because you have to fry in batches of 4 - 6 pieces.

So you want to make sure everything is all laid out and ready for you to grab and use.  I recommend:  long skewers, a cookie sheet lined with paper towel (and preheat your oven to 200 degrees F), the spider sieve thing you'll use to remove the fish from the oil, extra paper towel. 

I also put a cardboard box on the floor under my feet to catch the oil splatters.  I think it was kind of a genius thing to do.  Like.  A LOT genius.

This was the best process I could figure out.  Grab a few pieces of paper towel and lay it out on the counter.  Dry the fish, 4, 5, or 6 pieces at a time. 

Put the fish in the batter and push it down with a skewer so it's all coated.

One piece at a time, use a skewer to lift the fish out, let the excess batter drip off and then place it in the oil.  You'll want to work quickly so the batch you're working on finishes at relatively the same time. 


Monitor your heat!  I found that I had to fiddle with the heat (turning it up, turning it down).  Every time you add the fish the temperature drops, so you need to turn up the heat to maintain the 350 degrees F, but if you leave the pot empty for too long it will heat up too much.  So you have to watch.

After the fish has been frying for about half the cook time (because the Sole was thin, I only did 3 minutes 30 seconds for a cook time and it was perfect), use your wire lifter thingy to flip the pieces over.  This may not be necessary, and the fish may not stay flipped, but you can't wander too far while you're frying to it'll give you something to do.


You'll also have to set up the next batch of fish.  Dry it, and get it in the batter while you're waiting.

Once the fish in the oil is golden brown, remove - letting some of the excess oil drip off and place the fish on the lined baking sheets.  And stick that in the oven.  At 200 degrees F, the oven will keep the fish nice and crispy and warm.

Then put in the next batch.  Dry, batter, fry, oven until all the fish is done.  Be prepared, because it will take quite a while.

Once the fish is done - it's chow time.

6-inch flour tortillas (warmed or not, your choice.  I didn't bother), cabbage (red or green - both are delightful!), the Pico de Gallo, the White Sauce, and the Fish.


(Sorry about the pictures - they're hideous and don't do Jessica's amaze-balls recipe any justice)

Between my brother, his wife, and me we totally crushed a whole pound of fried fish, 11 flour tortillas, and all the trimmings.

My 5-year old niece even devoured hers and when we had finished she looked down the table and asked "soo, you got any more tortillers over there?".  She was pretty bummed it was all gone.

Seriously, it was a clean sweep.  Even the Mexican Rice and the salad.  It was all gone. 

Light batter, perfectly cooked fish, delicately spiced - you could just eat and eat and eat and eat until it's gone and you'll wish for more.  The pico and the white sauce were the most amazing accompaniments ever created for these tacos.


Since then, I've made these twice more and the results have been the same.  Delicious.  Amazing.  Make these for me every day. 

If you've been afraid of the deep fryer.  My message is - don't be.  But.  Be patient, be diligent about keeping an eye on things, be prepared.

Don't be afraid of the deep fryer!  You definitely don't want to miss out on this completely fun and wonderful dish!

You're welcome.  In advance.

xo - Heather