Friday 24 June 2016

Pralines and Cream Pie

With all these DELICIOUS burgers, I regularly forget that I ALSO make really awesome desserts.

Like this Pralines and Cream Pie. 

What is Pralines and Cream?  I actually had to go on a fact-finding mission, because I truthfully had no idea.

Pralines and Cream = popular ice cream treat.

Pralines?  A candied nut.  I remember being in St Augustine and my sister-in-law was so wildly excited because this little candy shop we snuck into in the old village had all kinds of Pralines. 

So I thought this pie would be a hit.

Spoiler alert.  It WAS.

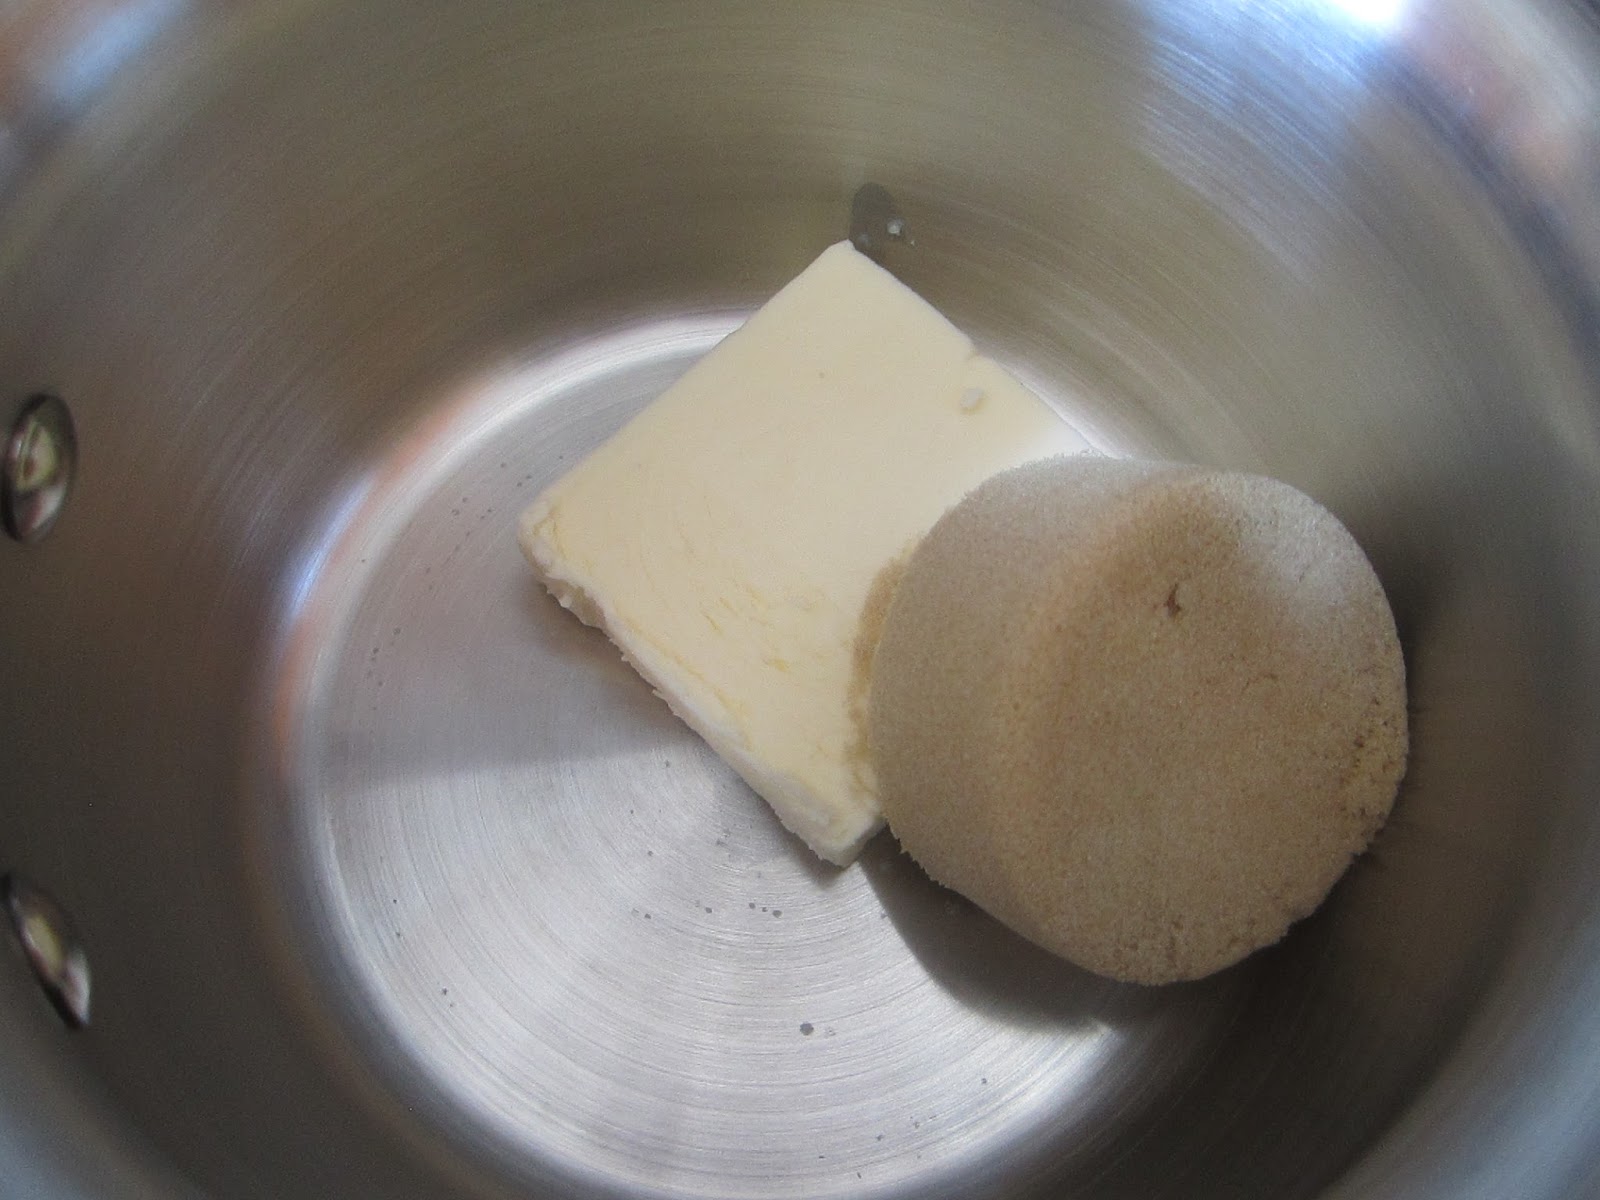
First - we'll start off with a pie crust!

In all honesty, the recipe calls for ice water....  But I'm lazy and don't make ice.  I just ran the cold water until it was very very cold.  And then popped the measuring cup into the freezer for a few minutes for good measure.

Well that clearly explains why my water bill is a bazillion dollars.


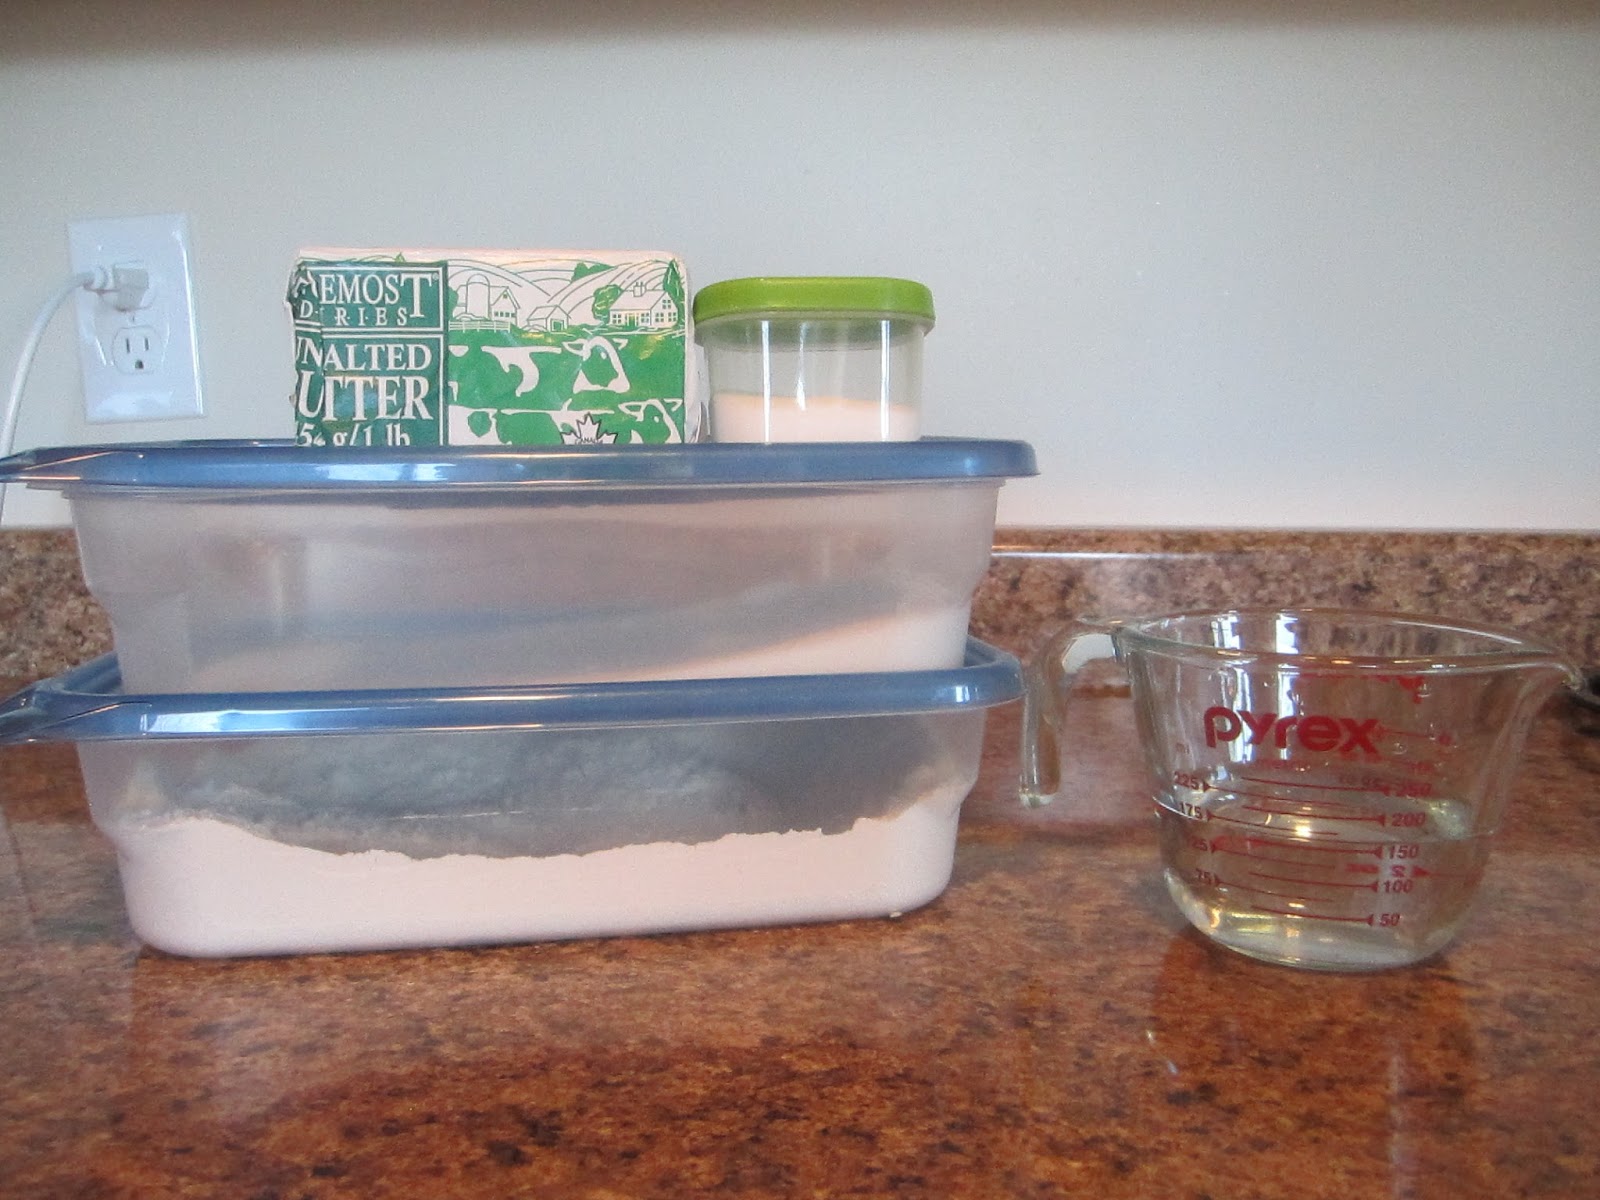
In a mixing bowl, combine the flour.
 

With the salt.


And the sugar.


Whisk that together.  Then add the cubed butter.  Make sure it's cold! 


Then start cutting the butter into the flour.  You can use a fork to do this.  But I really like my pastry blender.  But then you need a fork later on to mix in the water.  So you can do whatever makes you most comfortable.  Or depending on how many dishes you want to wash later on. 


Stir in the water and knead the dough until it comes together.  But don't overdo it or the dough will be tough.


Flatten the dough into a roundish, flattish, disc-shape.  Wrap in cling-wrap and put into the fridge.  Until it's cold.
 

When you're ready, take the dough-disc out of the fridge and roll out until just a little bigger than your pie plate.


Trim the edges, dock the surface, fill with pie weights (aka - black beans) and bake.  Which I can't show you - because I had a brain fart and forgot about that part.

Next.  The filling.  Or at least "Part 1" of the filling.
 

In a medium saucepan over medium heat, add the butter.
 

Add the brown sugar.


Add the pecans and salt.


And start cooking until the whole lot is syrupy and sticky.  Try not to eat that.


Once the pecan mixture is nice and thickened and syrupy, pour that into the baked (cooled) pie shell.


Then let that cool while you make Part 2 of the filling.


In another medium saucepan (or the one you just cleaned, or a bigger saucepan) over medium-low heat, add the sugar.
 

Then the cornstarch.


And some of the milk!


Stir it together.  The add the rest of the milk.  Beat the two egg yolks in a small bowl and pour into the milk mixture.


Whisk to combine.
 

Cook on low, stirring occasionally, until very thick.  Then, scrape out the caviar from a vanilla bean pod and add that.  To get to the vanilla bean caviar, simply split the bean lengthwise and run the blade of a knife along the inside of the bean.


And then add in cubed butter.


Stir it all together until the butter is melted.  Let it cool slightly.  Pour into the pie shell over top of the pecan mixture.
 

Gently place a piece of cling-wrap on the top of the pie (so that it's directly on the surface of the pudding) and place in the refrigerator.  I like to let this type of pie sit overnight.  Or all day.

Just before serving, whip up some whipped cream to serve with the pie.
 

And, cue the yum.


Creamy and sweet, with a satisfying slight crunch from the pecans, this was a delightful fresh (though slightly rich) pie.

I would absolutely recommend doubling the pecan part.  I wished there was more of that.  (But I'm a huge pecan pie lover - so that's probably why)

I would also recommend using double the vanilla bean caviar. 

I wasn't fussy about the pie crust - I recommend this one from Alton Brown's Good Eats.  It's flaky and wonderful!

I think my favorite part about this pie was that it's the best of both worlds!  A cream pie married with a pecan pie.  That's pretty much heaven.

I hope you enjoy it too!

xoxo - Heather

Friday 17 June 2016

California Roll Burger

When I go for sushi - which isn't wildly often in the little city where I live - I always get an order of California Rolls.  I do this for a couple of reasons.

1.  I lurv 'em
2.  They're a sushi staple.
3.  If the California Roll is terrible - it bodes badly for the rest of the menu.

So it makes sense to put all my favorite elements of the classic California Roll on a burger (with the bun as a substitute for rice).  Which I found courtesy of Use Real Butter

The trick here is to get your hands on Japanese mayo.  I found Kewpie Mayo at Superstore in Edmonton and it's surprisingly delicious! 

Here it is in a picture!  It has a weird little baby doll picture and is in a plastic bag in the Asian foods section.  But, I SWEAR, it's so good.  (PS - this picture is from an upcoming post about Japanese Potato Salad)


I made my burgers the same as always, but added 1/2 teaspoon of fish sauce instead of the Worcestershire sauce.

 
Then I mixed imitation crab meat (real crab is hard to come by in town!) with the Japanese mayo.  I didn't want it to be too soupy, but I wanted it to kind of stick together.

 
Top with creamy, fresh, gorgeous, beautiful avocado......  *sigh*. Isn't it glorious?

 
And then top with strips of nori. While it's hard sometimes to get cream cheese or big bags of flour in town - getting nori for sushi is surprisingly easy.  (I know - it makes my head hurt too)
 
 
I smeared more Japanese mayo on the top bun.  Just for kicks.


And you know what?  It was pretty damn good!  The creamy sweet crab and avocado, the salty nori, the rich juicy burger patty - absolutely loved it!
 
Now - if you happen to be able to get your hands on that crazy delicious orange fish roe (no really, I love it!), put that on too.  And pickled ginger!  Also - Jen (from Use Real Butter) made a wasabi mayo to top these burgers with.  That would be awesome too. 
 
I definitely would do this again!  It was so unusual and fresh - a perfect summer day treat.
 
xoxo - Heather

Friday 10 June 2016

Caprese Burgers

Hi today!

We've talked before about how simple and straight-forward can be SO delicious.  Recipes don't always need to be complex with a zillion steps to be completely decadent. 

Tomatoes, fresh mozzarella, and basil pesto.  Plus a patty and a bun.  *BAM*  Burger.

Truth be told, I didn't even MAKE the pesto for this burger.  I bought a jar of it and slathered it on.  Totally worth it.


Fresh mozzarella is the way to go.  I got a little over-excited and left the lid closed a little too long - because I wanted to cheese to be melty and gooey and not cold in the middle.


But still.  So gooey and cheesy.  

Next time though, I'll be slightly more conservative with the amount of time it's on the grill.


Next up are some oven roasted tomatoes.  Slow roasted at super-low heat for hours, the tomatoes end up being slightly candied and sweet.  


So beautiful.

 
I put pesto on the top bun too.  I absolutely felt like there needed to be a higher pesto to everything else ratio.

 
I think I'm in love.

 
Isn't that gorgeous?!  It's truthfully kind of sinful.  The tartness of the pesto complements the sweetness of the tomatoes and cheese - the juicy burger patty and the perfect hamburger bun rounds it all out to make an incredible hamburger.
 
My sister-in-law declared it her favorite of all time - she evens gets a kind of dreamy look in her eye when I mention it.  lol
 
Caprese Burgers - worth turning on the oven to roast tomatoes in the dead heat of summer.
 
-Heather

Friday 3 June 2016

Chicken Parmesan Burgers

Hi there!

I'm sure by now you've perused the DELISH burgers I mentioned in my recent roundup post and you're absolutely dying to get out there and barbecue some up!  I don't blame you!

Ground chicken isn't something I'm really used to working with.  I guess because I've always been a little unsure about it.  Maybe it's because I've always heard that ground chicken is gross and dry and BOOORRING. 

Who knows. 

But mix that chicken with some delicious fresh parsley, parmesan cheese, and other fun stuff? 

Totally different ballgame.

I didn't take pictures of me putting everything into the chicken - but it's a mix of chicken, parmesan cheese, bread crumbs, Italian seasoning, flat leaf parsley, garlic, shallot, and salt and pepper.

You can absolutely do these in a grill pan or cast iron pan on your stovetop - but I LOVED the extra little bit of flavor that the barbecue added!

You'll top these chicken burgers with warm marinara sauce.  Or plain old tomato sauce if you want.


Then top with mozzarella cheese - there is already parmesan in the burger


And then crush it.


Can we just fall in LOVE with that bun for a sec?  Good grief it's perfect!

The burger though..  A ton of flavor packed in that little package right there!  Just remember when you're cooking the patties not to press on them.  And try not to overcook them.  But don't UNDERcook them.  (would you laugh if I told you that I was so completely stressed about the proper "doneness" I almost cried?)

Definitely warm up the marinara or tomato sauce.  I absolutely believe that it improves the flavor of the sauce.  Also - it helps the cheese be all melty and wonderful.  You could also use fresh mozzarella which would be awesome.

Also these aren't wildly filling, so you can feel free to have LOTS of dessert!  I know I did.  (Let's face it - I always do!)

Enjoy!
-Heather

Wednesday 1 June 2016

Start of Summer Burger Roundup

It's June 1st today!

Officially the start of summer isn't until June 21st or something like that, but I like to think of the very beginning of June to be the official kickoff to summer.  Now we just need to get the sun out and the temperatures up and I'll be a happy girl.

I hope you remember way back when I posted fancy-schmancy burger recipes and they were all glorious and delicious and hungry-making.

Before we get to those, a couple of basics - buns and patties. 

I LOVE these buns.  They're strong and sturdy and hold up to everything we put on them.  They taste delicious and they're hardly any hands-on work.

 
This is the method I use for a basic patty.  Some recipes have specific patty ingredients - so I'll use that recipe, but for the most part this is the method/recipe that I use.  The result is tender and juicy and packed with flavor.


Now that we've reviewed the basics - let's take a look at the burgers I've featured before!

One of my all-time favorites - Shrimp Burgers.  So light and lemony and delicious!


Just a sauce topping that turns a regular burger into a wild, smoky treat.  Wild Mountain Bacon Cheeseburger sauce.


If turkey is your thing - you could try these Southwestern Turkey Burgers.  But that chipotle pepper ketchup would totally rock a regular beef burger.


And for a Mediterranean twist - how about these Middle Eastern Turkey Burgers?  The mint, the parsley, and the complex of spices topped with a creamy, dreamy Tzatziki sauce is totally perfect for a hot summer day! 


These Jalapeno Popper burgers were totally fantastic.  The saltiness of the cheese, the crisp of the bacon, the sweetness of the cream cheese, the zing of the jalapenos - that avocado-ranch topping.  It all went together like it was always meant to be.  Don't be freaked out by the cream cheese stuffed into the beef - it's truly a delight.


I love to cook with wine - there's just something about it that creates depth and layers of flavor to any dish that makes it a welcome addition to any dish.  Even BURGERS!  For these, the wine is reduced and added to the beef and then cooked.  These Cabernet Saugvignon burgers are elegant and unexpectedly wonderful.


I know every time I make a burger I say I love it.  Because I DO!  But this has GOT to be my very most favorite.  I would make it over and over again.  The Texican.  Refried beans, burger patty, Monterey jack cheese, pico de gallo, chipotle mayo.  It all comes together between the top and bottom bun.   


The Boss.  Slightly similar to the Texican in that I used Pico de Gallo and chipotle mayo, but completely different with the bacon, the egg, the salsa verde.  Yep - an egg.  Fried to be exact.  There is SO MUCH going on in this burger I don't even know where to begin.  I'm not even sure how the buns held up to all the filling - yet somehow, we managed to stuff it all in and get it into our mouths.  Forks are probably a must with this burger.


If you get a chance, I definitely recommend whipping these up as quickly as possible.  But since it's a new summer, I'll start posting some new and exciting burgers soon.
 
Have wonderful summer! 
 
xoxo - Heather